
Murray River
Mt Kosciuszko to the Murray and down to the ocean

Welcome to the Murray River Paddling Guide, an essential resource for anyone planning to explore the beautiful and iconic Murray River in Australia.
This guide is designed to be a comprehensive reference that will answer some of those burning questions that you may have now or when you're on the water. From finding supplies in key towns along the way to understanding the river's unique ecology, this guide covers everything you need to know to make your journey down the Murray River as smooth and enjoyable as possible.
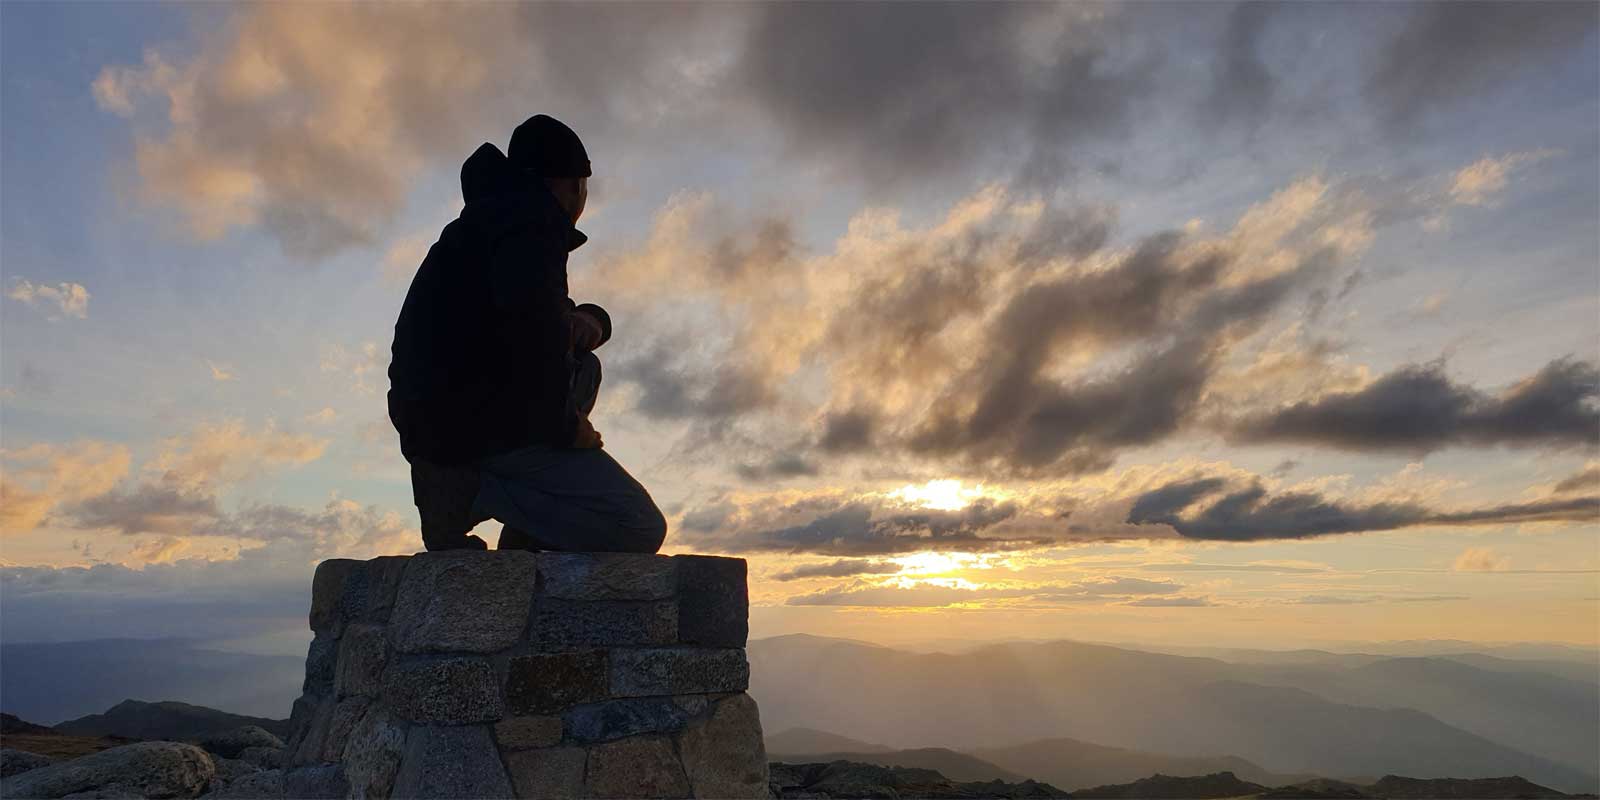
Paddling the majority of the Murray River below Bringenbrong is an ambitious yet achievable goal for paddlers of all ages and skill levels. This iconic Australian river offers a fantastic journey from the alpine foothills down to the Southern Ocean, passing through many charming regional towns and pristine natural areas along the way.
The primary challenges of this adventure will be the time commitment involved with paddling over 2,356 km distance down the Murray River, For those who attempt to do the entire length in a single leg, the most difficult part will be keeping motivated as you paddle on fairly flat water, with the current slowing due to the weirs used to control the river's flow. It is a true test of endurance, but for those who are up for the challenge, the sense of accomplishment upon completion is unmatched.
For those embarking on this epic journey, the most common starting points are Bringenbrong Bridge, Albury, and Echuca. Each of these starting points offers its unique set of advantages and challenges, and it's up to the paddler to decide which one suits them best. No matter where you start, the Murray River promises an unforgettable adventure that will leave you with a lifetime of memories.
Bringenbrong Bridge is the boundary that I have picked to define the transition between the upper and lower sections of the Murray River. This bridge, located near Corryong where the Victorian Murray Valley Highway and NSW's Alpine Way meet, is the first access point to the Murray River after the Swampy Plain River confluence. It is the merging of the two rivers marks the point where the Murray River transforms from a small seasonal stream into a real river with a fairly consistent paddlable flow all year round. This is due to the Snowy Mountains Scheme diverting water into the Swampy Plain River.
This section covers 95% or 2,356 km of the Murray River.
- The Free Flowing River ~200km
- Bringenbrong to Lake Hume and onto Albury.
- The Meeting of the waters ~480km
- Albury to Echuca.
- The Merging of the Darling ~825km
- Echuca to Wentworth.
- Into the Malle Ocean ~800km
- Into SA and the ocean via Lake Alexandrina.

For those who do not have the luxury of setting aside the time needed to complete the entire length in one go, tackling smaller legs is an excellent way to complete the river at your own pace. This option allows paddlers to explore the different regions and highlights of the Murray River, without feeling overwhelmed or rushed.
The upper Murray River, is a challenging and potentially dangerous section that should only be attempted by experienced paddlers with a high level of whitewater and backcountry hiking experience or with a guide.
The upper 141 km section of the river offers thrilling rapids and breathtaking scenery, but also requires a level of skill and preparedness that is not necessary for the lower section.
- Summit to Source ~60 km
- The summit of Mount Kosciuszko down to the Black-Allan Line.
- Source to Limestone Ck ~15 km
- Remote off-trail trekking down the Murray River.
- Limestone Ck to Tom Groggin ~50 km
- Pack rafting Grade II+ rapids down to Tom Groggin.
- Murray River Gorge ~70 km
- Tackling the Grade I - IV rapids of the Murray River George.

Guides, Resources and References
Paddling the Murray River may seem straightforward, but there are important factors and skills to consider that can make all the difference. Whether you're starting from Bringenbrong or the source, there are logistical challenges to overcome, and having access to reliable information can make a big difference in your planning.
As a seasoned paddler, I know firsthand the challenges of self-supported trips. Transporting yourself and your gear can be a major hurdle, especially when you're covering a long distance. That's why I've created this guide to share my experience and knowledge of the Murray River and provide tips on how to safely navigate the river with ease.
One of the biggest obstacles I encountered on my journey was the lack of information about flows and logistics along the way. This resulted in some misjudgments during my planning, which is why I've included as much detail as possible in this guide to help you avoid the same mistakes.
However, it's important to note that while the information provided in this guide is accurate to the best of my knowledge, distances, stores, and coordinates are only approximations based on various mapping tools. Therefore, it's always a good idea to double-check any information and plan accordingly to ensure a safe and enjoyable journey.
General Overview and Location Guides


Gear


Planning
Information to ensure an enjoyable and successful trip.


Additional Information


Nature


My Personal Journey
My rambling blog, trip table and (cough) training schedule for the trip.


